Pages

Showing posts with label Bouquet. Show all posts

Monday, June 14, 2010

My Bouquet

Yes, I am still harping about the bouquets.

My bouquet is different though than the bridesmaid's bouquets that you've already seen. The bridesmaid's bouquets have 16-18 flowers in them, and mine has 22, so it's bigger. Mine also has more pins, and small feathers are stuck in the top. Oh and mine has an aqua handle while the b-maids have ivory.

Ta da!


The big pin on the handle is my "something borrowed" from a dear friend of the family, Suzanne.


I could stare at these all day. So pretty. I am going to carry this around as much as humanly possible on July 24th.

What's your fav DIY project that you've done or seen?

Thursday, April 29, 2010

So how much?

I thought I'd do a cost break down on the bouquets for you all, so here goes:

Per bouquet (bridesmaids bouquet, 20ish flowers used per bouquet):

1 yard satin fabric, regular price $10/yard, used 40% off coupon, so $6/yard (right?)
20 floral stems, $2 for 75, so $0.54
1 bouquet holder, $2
Half a roll of ivory ribbon, $1
Rhinestone pins (some were gifts, but for most of the bridesmaids I bought rhinestone earrings at thrift stores, had my dad cut off the earring back with a drill thing and then hotglued a pin back on), $1
3 inch ostrich feathers, 5 used, $2.55
Hot glue, thread, pearl-headed pins, maybe $0.50

Total cost for 1 bridesmaid's bouquet: $14.09

HELL YES! Especially since the 6 hydrangea bouquets I originally looked at were going to cost me at least $500 and all of these cost under $100, including my bouquet.

The huge cost of these was elbow grease. Sewing those flowers is more time consuming than I could ever tell you (though trial and error added a good month on to this project), and then you have to sew them to a stem...it took way longer than I thought it would. I can honestly say that at least 5-6 hours was spent per bridesmaid's bouquet, and mine took even longer since mine is bigger and uses more flowers.

Also, the cost of the rhinestone pins could really get crazy, it just depends on how you do it. If you go into an antique store and buy the 100% perfect ones, they can go up to $50 a pin. I got lucky with rhinestone earrings that I then turned in to pins, and I bought them at a thrift store that the antique store crowd tends to stay away from, so that price point might not be realistic if you aren't willing to dig.

I am so, so glad I did these. Out of all the stuff we're doing for the wedding, I am most proud of these. I had almost nothing to go off of but I figured them out (adding to the time involved), and I am beyond thrilled with them.

I'm probably not going to be able to stop myself from shoving my bouquet in people's faces at the wedding while saying "LOOK WHAT I MADE!"

Have you done anything for the wedding that you are crazy proud of or that saved you a ton of money?

I swear I will eventually stop harping about these...at some point that is yet to be determined.

Tuesday, April 27, 2010

They're Done!

The bouquets I have been working on since AUGUST are finished! And they are exactly what I had in my head...it is so exciting to be able to create something and have it match up perfectly with what you had in your head, isn't it?

Alli modeled one for me:


Here's more of a close up:


And the bottom so you can see how I covered that not-especially-attractive bouquet holder. The ribbon wrap is 100% perfect but I think it's definitely close enough.


My bouquet is a touch bigger, and will have an aqua handle wrap. I found the rhinestone pins at thrift stores...a few of them are earrings that my dad used his saw/drill thingy to cut the earring part off, then I hot glued a pin back from Hobby Lobby on and pinned them into the bouquet.

So all 5 bridesmaid's bouquets are done, I'm waiting on feathers for mine. I ordered 3 inch feathers that worked nicely for the smaller bridesmaid's bouquets, but they weren't big enough for mine. I got the feathers for an amazing price from Etsy seller SimplySilverbyHeena. She's awesome, so if you need feathers check her out!

I am so thrilled with these, I can't wait to see how they look with my dress!

Want to make your own?

Here's the inspiration for my bouquet, and here's how I made the satin flowers. This is how I shaped the bouquet.

Don't want to make your own because it takes an obnoxiously lengthy amount of time? E-mail me, we'll talk!

So what do you think ladies? Don't they look 1000000x better than this attempt!

Thursday, April 8, 2010

Toss

My sister and maid of honor Alli was nice enough to put together a toss bouquet for me last weekend, since there is no way in hell I am tossing the satin flower bouquet I have slaved (I mean labored over with love) (they're almost done by the way, I'm just waiting for some feathers I ordered off Etsy to arrive!). I had a bunch of flowers laying around from before I really figured out exactly what I wanted for my bouquets, and I figured these would make a nice toss bouquet. (Want to make these super easy organza flowers for yourself? Here's a tutorial!)

The flowers were conveniently already sewn onto stems, so Alli just arranged them into a bouquet-ish shape, wrapped the stems in floral tape, and then did a ribbon wrap with some Martha Stewart ribbon we got at Big Lots for $1. Alli is a perfectionist and she is bothered that so much of the stem is showing...but I think it looks fab.


My room is such a mess, I'm sorry you have to look at it....and I've set up a sewing area on my desk, and when you sew you have to press things all the time, so I drug the ironing board and iron up from the basement and I just keep it in my room now. Classy. Also I've been in St. Louis for the past 3 weekends and cleaning is high on my priority list for the weekend.


Simple, easy, pretty, and thanks to Alli, DONE. These organza flowers took so little time and they were just sitting around going to waster, so I'm glad we could use them.

I have more organza flowers that are not sewn on to stems and I'm going to use them for pins/corsages for the moms and grandma. I'm going to glue a pin onto the back and sew ribbons onto the back, so the ladies can wear them as a pin or as a corsage...and if they pick the pin option then they can just cut the ribbons off. I do want to put pearls in the middle of the ones the moms/grandma will be wearing instead of the aqua or red beads, I think there's a higher chance of it matching better.

Can you bear to toss your bouquet or are you doing a separate toss bouquet? What are you doing corsage-wise for the women in your life?

Wednesday, February 3, 2010

No more...

I am sick and tired of sewing satin flowers for the bouquets.

I only need to sew 30 more, I'm in the home stretch. I've got it down to a science, with each flower taking 3-4 minutes. But I don't even want to look at the unfinished flowers, I prefer to stare dreamily at the bouquets I already have put together that only await feathers and ribbon.

But I want these done. I want them 100% completed and safely stored until July. I want to cross this off my list so badly. (I'm not goal oriented, or anything). So I've broken this task up: I am going to sew 5 flowers a night for the next 6 nights, and I will be finished. Then I just have to sew them onto stems, but I'll think about that part later. "Tomorrow is another day..."

This is something I never thought I'd be saying, but the ivory feathers I bought to cover the white plastic bouquet holders are too yellowy, so I went back to get white feathers. For some reason the white feathers are droopier and thus unusable. So I am on the hunt for white ostrich plumes, I'll keep you posted. If you would have told me a year ago that I would find a certain color of feathers too droopy for use, I would have laughed at you. It sounds ridiculous to me too, but they really are too droopy, I swear!

Are you in the home stretch of any DIY projects?

Wednesday, January 27, 2010

Under Construction

The bouquets have been really simple to put together! I picked up these not-especially-attractive bouquet holders from Hobby Lobby for $1.99 a piece. I went with the smallest size they had for the bridesmaid's bouquets, and the holder we're using for my bouquet is just a bit larger.

First I cut down the tulle. It was too much, so I trimmed about an inch off. I am not crazy about the fringe of material, but you can hardly see it when the bouquet is done.


Then I cut off the frou-frou plastic thing, because I want as little of these holders showing as possible.


Then you stick the flowers in! I doubled up the stems because they were way too long.


Not a particularly scientific process. Here are the ones we have done so far:


4 down, 2 to go! My bouquet is on the far left.

Next, we need feathers to hide the bouquet holder, and then the stems need to be wrapped in floral tape and then ribbon. So they are 95% done! These have turned out so much better than I ever thought they would, I am so proud of them. I tried to make these with cotton for the flowers, but dressier materials such as satin just look so much better, in my opinion. These would be gorgeous in velvet for a winter wedding, I think!

What DIY project are you most proud of?

Tuesday, January 26, 2010

Tutorial: Satin Flowers How-To

So the 2 flower tutorials I've done before are on the misleading side...because I haven't used either one of the those flowers in the bouquets I've been putting together. They just weren't matching up to the image I had in my head, so I played around with them and came up with these. Here is how to make the flowers I've been using in my satin flower bouquets.


Cut a piece of material, a rectangle. Look how crooked mine is--cutting a straight line is not a prerequisite, trust me! The fatter your material, the wider your flower will be. The longer your material, the tighter wound it will be. Mine is about 2.5 inches wide and 7 inches long, give or take.

Fold the material in half lengthwise, so you have a long rectangle. Fold the wrong sides of the fabric together so the right sides of your fabric are on the outside.

Thread your needle with coordinating thread, and knot it at the end. Pull your needle and thread up and through both layers of fabric. Sew long stitches all along the top of the rectangle, with the folded edge at the bottom. You want to sew the 2 frayed edges together, so you should be sewing closest to the frayed edges.


Take big stitches. Mine are at least 3/4 of an inch. If you sew little stitches your fabric is going to be way too gathered. You only want a loose gather, so take big honking stitches.


When you get to the end of the line, cut your thread, leaving about 2 inches to give you something to work with. Do not knot your thread or anything, it's supposed to be unsecured.


Gently pull on the loose thread you just cut to loosely gather your material. I found, through lots of trail and error (mostly error) that a really loose gather works the best and gives the best shape for the flowers.


Once you have the fabric gathered to your liking, start to loosely roll the fabric. I always try to keep the frayed edges even with each other when I'm rolling the material, to keep the flower consistent.


After you roll up your loosely gather rectangle, you should have something like this. This process is not even remotely scientific...if you used a bigger piece of material or gathered the material more tightly it will look a little different, but this is the basic idea.


Before I start gathering the material, I thread my needle and knot my thread so I'm ready for this step. I gather the flower at the bottom and sew through the layers of material at the bottom to secure the material. This part doesn't show in my bouquet, so I'm usually messy about it. I also fold down the fraying edges in the center of the flower and on the edge and sew them down, so I don't have any frayed edges poking up.

I've been using normal floral stems from Hobby Lobby, in the heaviest gauge they have. I fold it over and a bit and sew it on to the flower like this:


Ta da!

Tomorrow I'll show you how I've been constructing the bouquets using these flowers.

If any part of this is unclear, or if you have any questions at all, please let me know, I'm happy to help! This is really such an easy project, and it is so forgiving of mistakes.

Tuesday, January 12, 2010

Vintage Lovelies

I saw these on This is Glamorous yesterday and had to share.


Fantasy Floral Designs puts these vintage pin bouquets together. I'm sure they are super expensive (wedding planning has taught me that if the price isn't listed, then I can't afford it), because those vintage pins cost $2-$15 a piece (my mom collects them). Aren't they lovely and quirky? There are so many insanely beautiful non-floral bouquets out there.

Are you doing a non-floral bouquet?

Tuesday, December 15, 2009

How to Cover Not-Especially-Attractive Bouquet Holders

With feather plumes!


I LOVE this. Love it, I think the feathers are such a great subtle touch. Now I just have to stalk them until they go on sale, because they are $3 per feather. Even on sale they're still $1.50 per feather. Insanity! But anyway, I couldn't be happier with the results. What do you all think?

Friday, December 11, 2009

Bouquet Update

I finally, after a huge amount of trial and error, am really happy with the direction the fabric flower bouquets are going in. To read about my early attempts and for a couple of tutorials, click here.

I found this insanely gorgeous and lustrous slubbed ivory satin at Hobby Lobby. It's $9.99/yard, but with my handy 40% coupon, not prohibitively expensive in the least. Here's a bouquet made up almost entirely of that material:


Here's a back end view...I found this bouquet holder at Michael's, but they have them at Hob Lob as well. They're under $3, and it really helps give the flowers structure and support. Fabric is heavier than you'd think, especially when perched atop a wire wrapped in green stuff!


I've sewn the flowers to green floral stems and then doubled-up the stems, because I don't need a 2 foot long handle.

I was thinking about doing a video tutorial of how I make these flowers, because I just discovered the video button on my camera and I had such a hard time figuring this out myself. Would anyone be interested?

I plan on sprinkling vintage rhinestone pins throughout the bouquet for added interest, and I've been looking for sprigs of pearls to stick among the flowers. Also, I need to figure out how to hide that ugly bouquet holder thing! I'm thinking feathers. The handle will be wrapped in ribbon.

I sew flowers every night (seriously, every night I get home, couch out, and sew at least 6 flowers), and I've sewn so many that just haven't worked out for various reasons, so I am relieved and thrilled that it's turning out the way I wanted it to!

Did you have any projects that took longer than you'd thought to match up with the vision you had in your head?

Thursday, October 8, 2009

Bouquet

Once I had 50ish fabric flowers lying around, I wanted to put them into a bouquet to see if this was actually going to work...or if I had wasted my time hand-sewing 50ish fabric flowers.

Alli took a break from her never ending homework to help me sew stems on (she's in block 3 this semester of her student teaching, so she is a busy woman!).


Henry was a big help.


He's pretty much got it made.


Alli was kind enough to arrange the flowers into a bouquet after we sewed stems on all of them. The stems we used were simple floral stems from Hobby Lobby. Alli doubled up the stems to give it some substance since we couldn't find any thicker ones and wrapped it tightly in floral tape. The floral tape from Hobby Lobby was sh*t, so Alli pulled some from a Martha paper flower kit that worked much better.


So here's the bouquet!


Another angle.


In one of the milk glass vases.


I think it is so cool. I can't wait to add some pins and more pearls to the centers of flowers. I also think it looks kick *ss in the vase....I think they would make neat centerpieces.

I was afraid this would look cheap or tacky, but I was pleasantly surprised...I think it looks eclectic and different.

This is obviously just a trial run. For the actual bouquets, we'll be using way more satin, organza and taffeta. We'll also have 90% ivory/white and 10% red. Also, we'll have more "centers" sewn into the flowers...pearls, beads, etc. Size wise I think this was good. Some of the fabrics I used looked too casual in the bouquet, so I'll relegate those to table decorations if anything.

What do you all think, am I fooling myself?

By the way, you all have been so wonderful and encouraging about these silly flowers that I have a little giveaway planned for Monday, so stay tuned!

Wednesday, October 7, 2009

Layered Organza Flowers How-To

These look so much harder than they actually are. I like these so much, I'm going to whip up a bouquet made up solely of these flowers and see how it looks.

Step 1. Get some organza. I sucked it up and paid $3.50 for a half yard of this because I was dying to try these and it just couldn't wait, but I found a window sheer at Goodwill for a much better price that will work just find.


Step 2. Cut the flower out. Start by cutting a big circle, this will be the back of the flower. Then cut a circle a little bit smaller, this is the next layer. Keep going until you have enough to make up a flower. The smallest layer I made was a little bigger than a quarter, and the biggest layer I made was the size of a cereal bowl. I did find that when I made a particularly large big circle for the back layer, it was way too translucent so I did another circle the same size just to give it some substance.

Step 3. Once you have all of your layers cut out, arrange them from biggest to smallest. Thread your needle and knot one end of the thread. I did a simple cross stitch (it's a stitch that looks like an X) and went over it a couple times for durability sake.

Step 4. Burn baby burn! Ok, this is the fun part.


Hold the edges of each layer over a flame until they curl up. I totally caught one on fire like 5 times, but I just trimmed away the blackened edge and reburned it. How great is a DIY project when it doesn't matter if you catch it on fire?

Step 5. Prettify. I sewed some pearl beads in the center of one flower, some aqua beads in the center of another, and an old pearl button from my Meemaw's handed-down button stash in the middle of another.

And here's the end result:


If you haven't noticed, I only do these in my PJ's (which consist almost entirely of Cross Country t-shirts. Anyone have some affordable lingerie sites I should visit for something pretty to snooze in?).

I can't wait to see how a bouquet made out of these turns out!

Thoughts, tips, something I left out in the tutorial?

Tuesday, October 6, 2009

Fabric Flowers 101

I've been off in la-la land lately, hand sewing 50ish fabric flowers of all shapes and sizes. I was really inspired by that gorgeous bouquet I posted about here, and I've been all over the web finding tutorials, in and out of thrift shops and Etsy stores to find materials, and camped out on my couch watching TV while sewing and sewing.

So, here's my attempt at a tutorial for you lovely ladies and gentlemen! This is all based on trial and error. This is so easy, because there's no measuring or real expertise required.

Step one. Cut a rectangle out of a piece of fabric. You don't have to measure it. A skinny rectangle will make a skinny flower, while a fat rectangle will make a fat flower. The shorter the material, then the smaller and less gathered and full your flower will be. This one was about 4 inches by 12 inches. Also, it doesn't really matter what material you use. This one is cotton, but I've made flowers from satin, taffeta, organza...you name it. You can also use ribbon (wired ribbon is really structured, very cool looking).

So cut your rectangle, and get some matching thread and a needle.


Step 2. Fold said rectangle in half. Cut a length of thread longer than the rectangle. Thread your needle, and knot one end of the thread. On the rough edge where the 2 pieces of material come together, sew a running stitch along the length of the fabric. What's a running stitch? It's the super basic, up and down stitch. You can find a tutorial on that here. Don't bother making your stitches even, it doesn't matter. And make them about a half an inch apart.


Step 3. All done? Take the needle off of the thread, and take ahold of the loose thread and the knot at the beginning of the fabric. Pull, and gather the material until it's bunched up. Tie the 2 ends of thread together until the fabric gathers up into a circle, giving you this:


Step 4. To finish it up, I sew the 2 ends of fabric together. You can make these look really different by varying the fabrics used and the size of the fabrics. If you use a really long piece of material, you can spiral the flower around itself and it makes it more 3D.

Here's a sampling of some of the flowers I've made. I made them all using this technique except for the organza ones. I'll post a tutorial on them soon.


Henry helps me every night.


Poor dog, he was so confused!


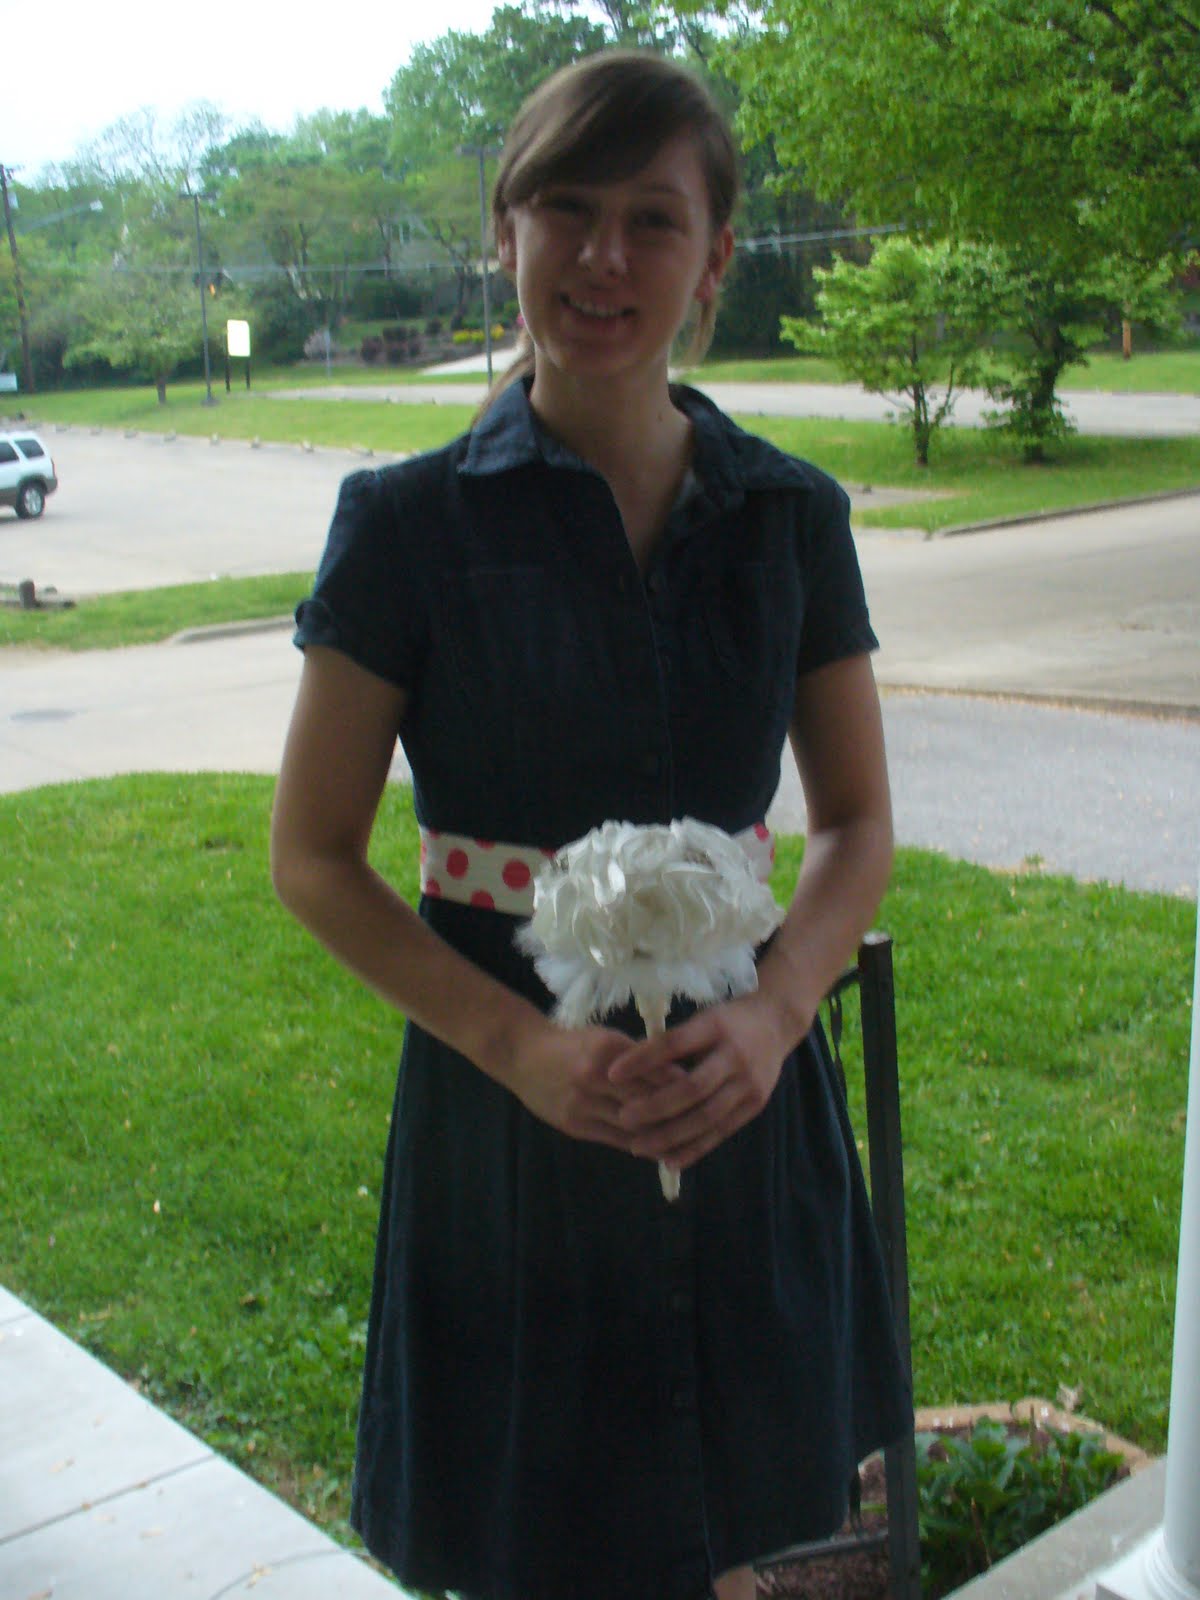
So, now I just need to sew a gazillion more! I did make them into a bouquet, and I'll post about that soon as well.

I must say, I am impressed with how these are turning out. I'm not particularly good at anything "crafty." It's so cathartic to chill out in front of the TV and make a dozen or so of these. I know they'd be faster by machine, but this is working for me. I've also cut up yards and yards of fabric, so I can just grab and go and don't have to stop to cut.

This project is also very cheap for me. I ordered 2 pieces of specialty fabric off of Etsy (they haven't come in quite yet), but all of this fabric came from a thrift store like Goodwill or from my grandma's scrap collection. This could be really expensive if you bought all of the fabric at full price.

I've been using pearls from an old junk necklace as the centers of lots of flowers, and I'm going to keep shopping for cheap junk jewelery to cut up and use. Also, I'm on the look out for rhinestone pins to pin on some of the flowers or on the handles of the bouquets. These flowers might make good centerpieces too, but we'll see.

So what do you think? Have you committed yourself to any projects that require a huge time commitment?

Wednesday, September 30, 2009

Sudden Inspiration

Oh my goodness, this is to die for!


This is the solution to my floral woes!

This was like a lightbulb being turned on. I knew immediately that I wanted to do it when I saw this at work at around 3ish, bought ribbon when I got off work, and a few hours later had 3 ribbon flowers on my living room floor (my sister helped me...a lot!) I think the key is to hit when the motivation strikes!

I attempted this with the widest ribbon I could find at Hobby Lobby as well as some vintage buttons courtesy of my MeeMaw. They turned out! I will be posting tutorials, probably with my sister's camera because every picture I took of me doing this kept turning out overexposed-I even turned the flash off and it still did. Any suggestions from the camera savvy gals out there? I need to hit up some St Louis craft stores, Cape's ribbon selection was dire.

I am going to make 5 bouquets out of these, and I think I can keep costs down by using vintage materials from thrift stores and on-sale ribbon. Plus, my labor is cheap. I'm still in shock this was as successful as it was! I also found some red and aqua Martha Stewart ribbon at Big Lots...if you have one in your area, go, they have a ton of Martha wedding and craft stuff for dirt cheap. The 9 foot rolls of ribbon were $1, and the quality is high. Also I went over to my grandma's last night and she was kind enough to donate some pretty fabric to the cause.

By the way, these are via the lovely and talented Stephanie at Love&Lace. Her blog is amazing. Can you believe she made that bouquet--from scratch--using a set of instructions without pictures. And she says she's not crafty!

Did inspiration ever strike out of the blue?

Friday, July 24, 2009

Follow up to the Great Bouquet Mock-Up of 2009

So, due to the lovely remarks from Miss Em and D. Marie (thanks ladies, you really helped make up my mind!), I am set on doing my own flowers. My mom is not. She thinks I am going to be losing my sh*t in the days before the nuptials and that flowers have to be done way to close to the wedding for me to worry about it. Anyway, I want to do it because of the amazing amount of money I will save...and I just want to do it. I feel like I can do a good job, and I don't think it will take me much time.

Ryan wants mini Calla lillies for the boutonnieres. Nothing but Calla lillies will suffice (apparently it's a masculine flower, which I kinda see). I found mini white calla lillies at Blooms by the Box for $3.41 a stem. We need about 10 stems, so this would run us around $35.


I want white hydrangeas, as you lovely ladies know, and they are $2.85 a stem, so for the 30 stems that I will need, that will run me about $85.50.


Throw in $20 or so for ribbons and pins, and that is under $150 for the flowers. We aren't doing flowers anywhere else, so this would be it. Under $150!? There's no WAY I'm paying out the wazoo when I can do it for under $150. I might want to do something floral for the church....but that is very undecided.

Anyway! I am too good at digressing. I really think I could handle this. The calla lillies are just getting trimmed and having pins stuck in them (Ryan doesn't want any ribbon to touch these. At all.), and the bouquet I did took maybe 5 minutes, and it wouldn't take me more than 10 or 15 to do a really nice one. When I did the mock-up bouquet it held up very nicely (and I abused it on purpose), and calla lillies are supposed to be very sturdy and they have a vase life of 7-10 days.

I have heard excellent things about Blooms by the Box also. P.S., the photos are from their website.

So ladies, am I kidding myself? Will I be able to do this the day before the wedding or do I need to let it go and accept defeat?

Monday, July 13, 2009

The Great Bouquet Mock Up of 2009

For my bouquet, I basically want white hydrangeas. That's pretty much the extent of it. I clandestinely "borrowed" some hydrangeas from a vacant house down the street...I know, totally wrong, but it's not for sale and no one lives there.

Anyway, I picked about 4-5 blooms. The hydrangea plants were not in good shape, as they haven't been watered at all this summer. I stripped the stems of leaves, first.


I didn't do anything fancy like angling the blooms....I just kind of stuck them together. I wound some ribbon around the stems, and voila.


Are you underwhelmed? Because I am. It looks so.....underwhelming. I really want to do the bouquets myself, but I don't think this is going to cut it. I will say though, that I made these Saturday morning and kept them in water, drug them over to my mom's and manhandled them, and they still looked really nice by Sunday afternoon. At least I know they'll hold up!

To be fair, I need to try this again with floral tape. I think that would've helped quite a bit. I still think it's missing something, though.

What do you think?